How To Do A Defects Check For Your New BTO
The TOP date of Plantation Grange at Tengah is getting closer – and if you’re one of the residents of this project, you’ll be able to collect your keys soon!

However, with this thrilling milestone comes an essential task that every homeowner should tackle – conducting thorough defect checks.
In this comprehensive guide, we’ll not only shed light on the importance of defect checks but also provide you with a step-by-step roadmap to ensure your new home is free from any hidden issues.
Whether you’re moving into Plantation Grange at Tengah or another project that’s TOP-ing soon, this guide is designed to empower you with the knowledge and tools to make your transition into your new abode as seamless as possible.
Section 1: Understanding The Defects Liability Period
Before diving into the inspection process, it’s crucial to grasp the concept of the Defects Liability Period (DLP).
In Singapore, the DLP is the duration during which the developer or Housing & Development Board (HDB) is responsible for addressing any defects in your BTO.
This means that if you come across any issues or imperfections in your new flat during this time, it is the duty of the developer or HDB to rectify them at no additional cost to you.
The standard DLP duration in Singapore is typically one year from the date of key collection – so for the first year after you receive your keys and officially take possession of your BTO flat, you have the assurance that any defects that arise will be addressed by the responsible party.
During the DLP, it’s crucial to promptly report any issues or defects you discover in your BTO unit.
Timely reporting ensures that these problems are documented and brought to the attention of the relevant authorities. The sooner you report a defect, the sooner it can be assessed and rectified.
To ensure a smooth defect reporting process, proper documentation is essential.
This includes taking clear photographs of defects, noting down the dates when you discovered them, and maintaining records of all communication with the developer or HDB regarding the issues.
Comprehensive documentation is your best ally in ensuring that defects are addressed satisfactorily and that you don’t bear unnecessary repair costs.
Remember, once the DLP expires, you’ll be liable for any unreported defects. Depending on the nature of the defect, you may need to budget for substantial repair costs.
Section 2: Who Should Conduct The Defect Check?
The next question that often arises is whether you should conduct the defect check yourself or engage a professional.
Thinking of going the DIY route?
Conducting the defect check on your own can be cost-effective and allows you to have direct control over the process.
This is a feasible option for homeowners who are comfortable with basic inspection tasks and have the time to spare.
If you’re not confident in your ability to identify complex defects or you simply don’t have the time to do this, hiring a professional inspector might be a wise investment.
Professional inspectors bring expertise and experience to the table. They are trained to identify a wide range of defects, including hidden or complex issues that might be challenging for homeowners to spot.
They also follow standardized procedures and checklists to conduct a comprehensive assessment. As such, they’re less likely to miss critical defects that could impact your home’s safety and structural integrity.
Generally speaking, it’s recommended for first-time homeowners to not carry out defect checks by themselves.
Engaging a professional isn’t that expensive, and it can alleviate some (potential) stress by ensuring a thorough and reliable inspection process.
Section 3: Assembling The Right Tools
This section is for folks who are confident in carrying out their own defects check, and want to undertake this on their own.
Alternatively, some folks may choose to engage a defects checker, but still want to go through the process of checking for defects themselves.
Obviously, you’d hope that the professional would spot all the defects (after all, that’s what you’re paying them for).
But it never hurts to have a second (or third) pair of eyes checking for defects – and you may pick up a valuable lifeskill in the process!
So… before heading down to your BTO and conducting the defects check, you’ll need a set of essential tools.
Your toolkit should include a flashlight for inspecting dimly lit areas, post-it notes for marking out defective areas, a mobile charger to test electrical sockets, and a spirit level for ensuring proper alignment of fixtures and fittings.
We’re also assuming you can take pictures and jot down notes on your mobile phone – but feel free to bring along pen/paper if you prefer writing everything down the old-school way.
Section 4: Creating A Defects Checklist
A systematic approach is key to a successful defect check.
Bearing this in mind, you’ll want to create a defects checklist that covers every area of your BTO unit.
Now, there’s no need to create your checklist from scratch.
You can start with a sample checklist or a template that you download online, but be sure to customize it according to your specific unit’s layout and features.
Organize your checklist by categorizing defects into different sections such as the living room, kitchen, bathroom, and bedrooms for easy reference.
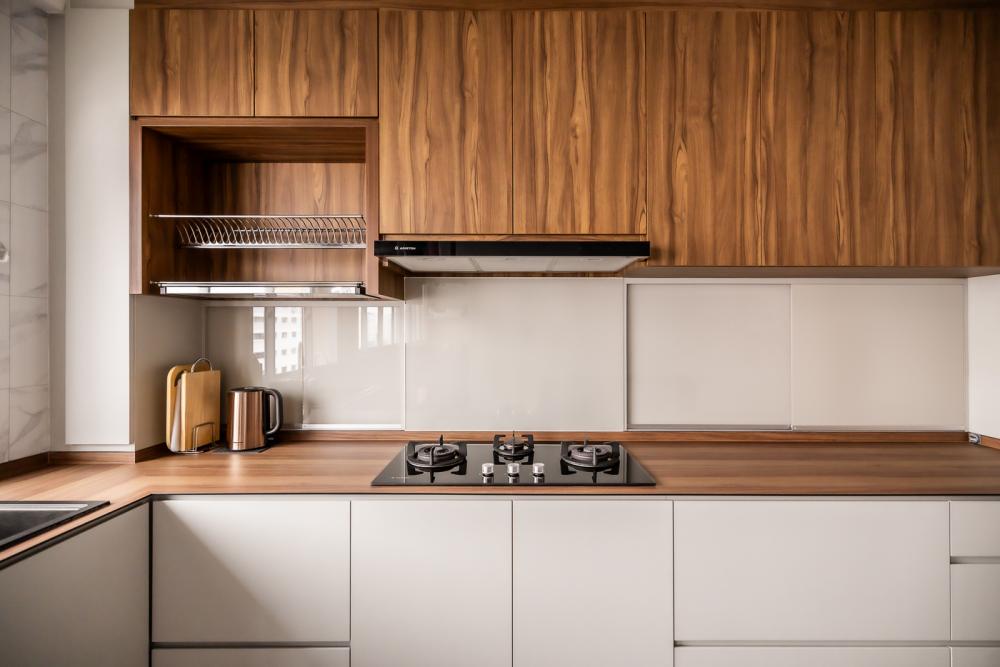
Within each section, break down the inspection further by listing specific items to check. For example, in the “Kitchen” section, include items like cabinets, countertops, sinks, faucets, and appliances.
Section 5: The Actual Checking And Inspection
Finally, it’s time for the actual inspection!
Begin the inspection process by checking the exterior of your BTO unit. This includes windows, doors, balconies, and any outdoor fixtures.
Pay close attention to any visible defects such as cracks, scratches, or misalignment.
Document defects meticulously, either by taking clear photographs or noting them down with accompanying descriptions.
From there, move on to the interior of your home, systematically inspecting each room and living area.
Examine walls, ceilings, and floors for any signs of damage or imperfections.
Inspect electrical outlets, switches, taps, and fixtures for functionality and proper installation.
Remember to check for both visible and hidden defects, as some issues may not be immediately apparent.
For reference, common problems reported by homeowners include:
- Paint chipping or peeling off walls or ceilings.
- Uneven or inconsistent paint coverage.
- Paint splatters or stains on surfaces or fixtures.
- Cracks or fissures in walls or ceilings, especially at joints or corners.
- Gaps or misalignment between doors, frames, and walls.
- Electrical sockets or switches that do not function correctly.
- Cracked or chipped tiles.
- Grout lines that are improperly sealed or discolored.
Section 6: Reporting And Rectification
Once you’ve identified all the defects in your BTO flat, it’s time to book a joint inspection with the Building Services Centre (BSC) staff.
During the joint inspection, point out each defect to the BSC staff, and they’ll arrange for rectification works.
Once rectification is complete, the BSC staff will do a final closing inspection with you, to make sure that everything is in order.
A Final Word On Checking Your New BTO For Defects
Whether you’re eagerly awaiting the TOP of Plantation Grange at Tengah or moving into another BTO project soon, conducting defect checks is an essential step in ensuring your new home is free from issues.
With the knowledge and tools provided in this guide, you’ll be well-prepared to navigate the defect check process and enjoy a worry-free transition into your new abode.
Next up… renovating your place!
If you’re not sure where to start, click the button below to get connected with expert designers.
These designers can help you conceptualize your ideal home, and turn that home into a reality.
Want to check out home renovation projects for more inspiration? Browse home renovation projects on Hometrust, or click the button below to get connected with expert designers!
Renovating soon? Let Hometrust recommend the best interior designers.
If you are reading this, you are probably wondering how you can create your dream home.
Here’s the thing, everyone’s needs and requirements for their home renovation is different. A designer that may work for someone else, may not quite work for you.
At Hometrust, we’re here to help match top rated designers, recommended by past homeowners to you through our data-driven and matching algorithm.
Whether you are looking for partial renovation or a full fledge overhaul, we’ll be able to recommend you top designers to match your renovation requirements and lifestyle.
Recommendations and free and you can simply start by helping us understand your needs below!
Get RecommendationsRenovate safe!
The Hometrust Team