The Ultimate Guide On How To Paint Your Rooms
Painting your room can be a fun and rewarding DIY project that can transform the look and feel of your home. Plus… it helps you save money 😉
In this ultimate guide, we’ll walk you through everything you need to know to paint your room like a pro, including:
- How to prepare your room
- How to choose the right paint
- How to paint your room
- How much you save when you paint your rooms yourself
Read on to find out more!
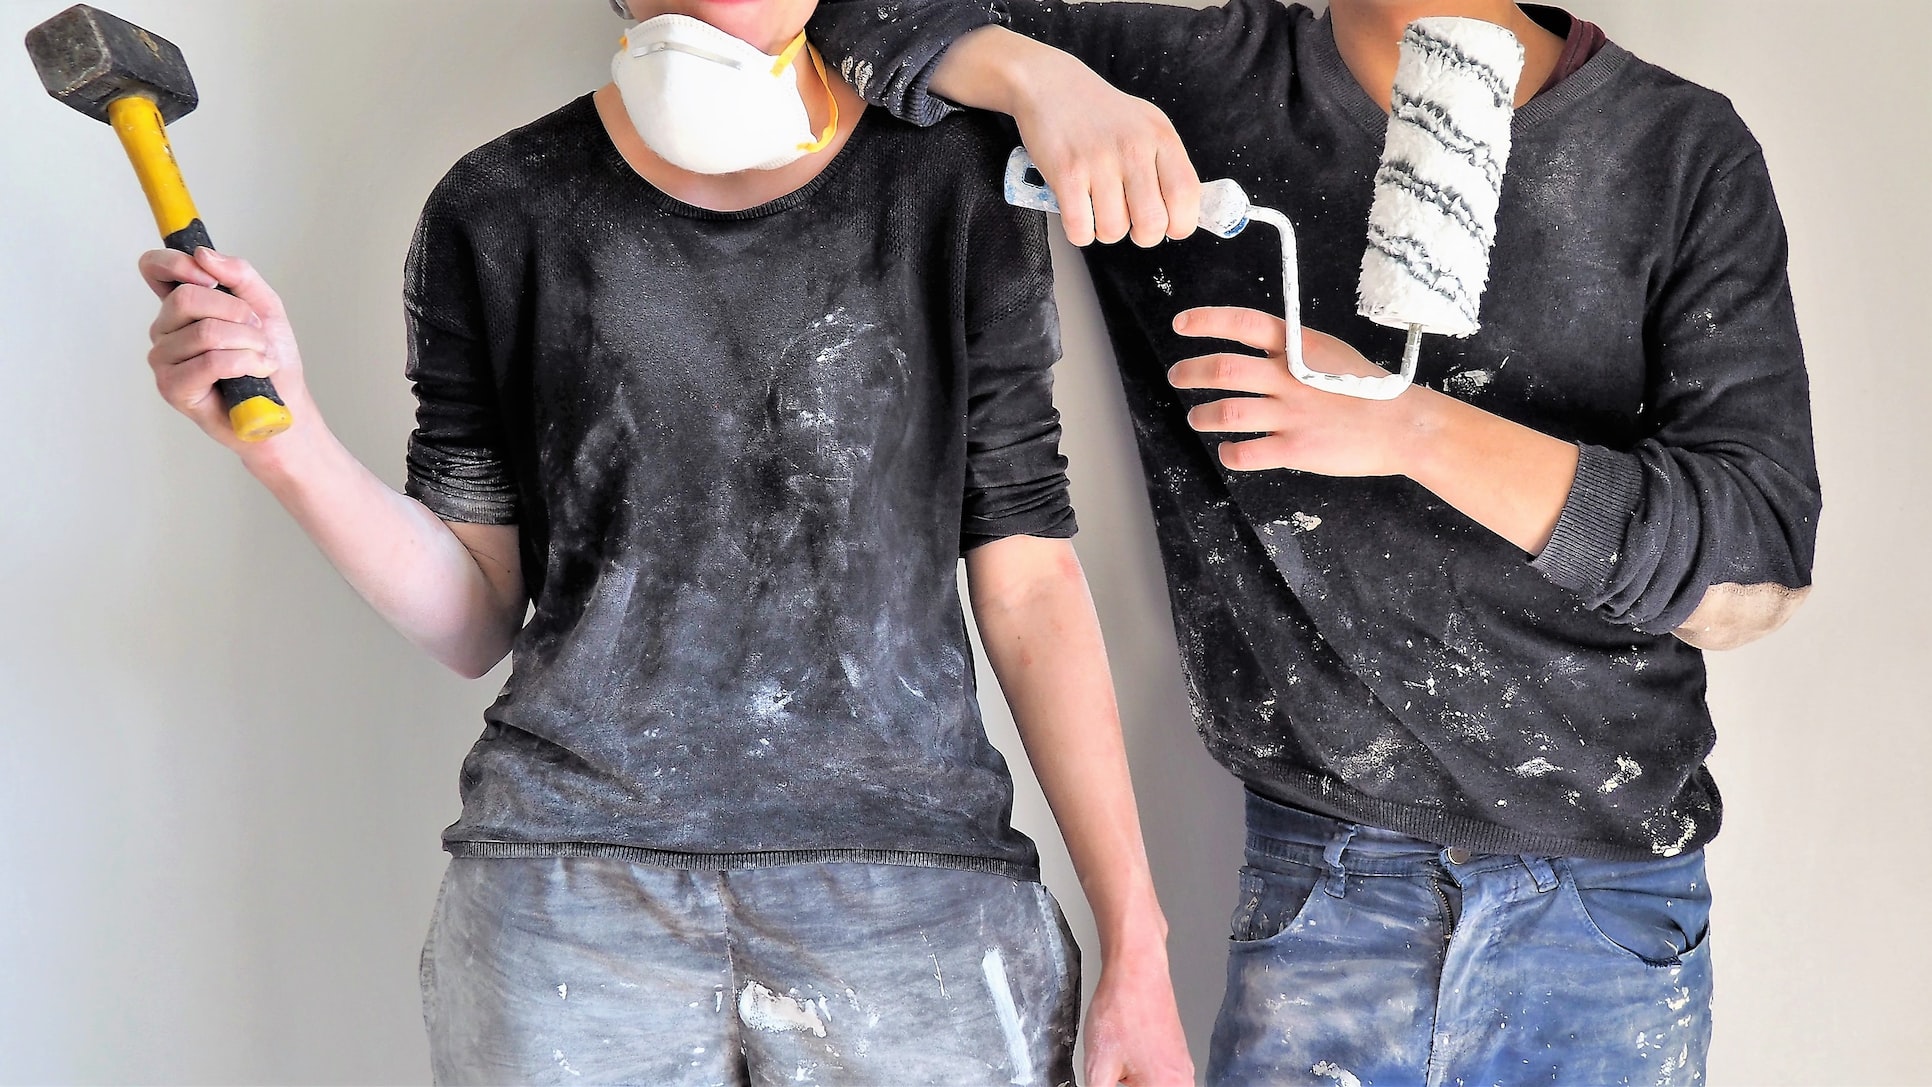
Part 1: Preparing Your Room
The key to a successful paint job is proper preparation. Here are the steps you should take to prepare your room:
- Clear your room
- Clean your walls
- Patch holes and cracks
- Sand your walls
- Protect your doors, windows and power points with painter’s tape
Step 1: Clear your room
Firstly, clear the room as best you can. Remove all furniture, fixtures, and accessories from the room. If you cannot remove them, cover them with drop cloths, plastic sheets, or old newspapers to protect them from paint splatters.
Step 2: Clean your walls
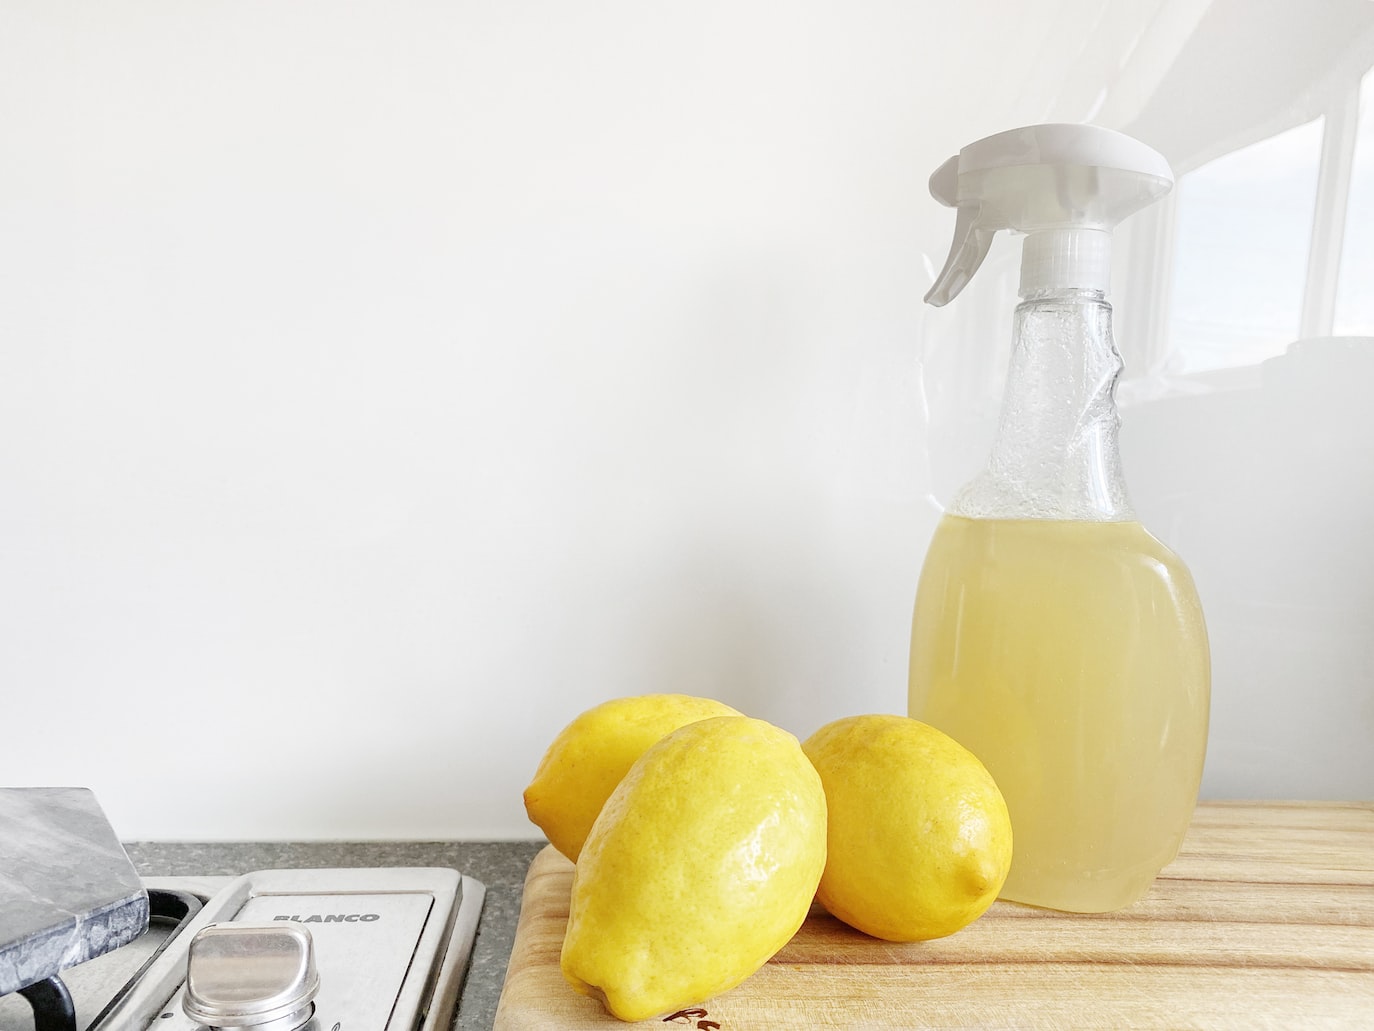
Next, clean the walls with a mild detergent and water. Remove any dirt, grime, or grease using a sponge or rag. If you have any mildew or mold, use a mixture of bleach and water to clean the affected area.
Step 3: Patch holes and cracks
Once your walls are clean, patch any holes, cracks, or other damage on the walls using spackle or joint compound.
To do this, scoop a small amount of spackling paste onto the putty knife and apply it to the hole. Spread it evenly, pressing firmly to fill the hole completely. Smooth out the surface with the putty knife, removing any excess spackling paste.
Following this, you’ll need to let the spackling paste dry completely. This may take several hours, depending on the size of the hole and the temperature and humidity levels in the room.
If you need to speed up the drying process, you can use a fan to circulate air in the room or open a window to increase air flow. However, do not use a hairdryer or other tool to dry spackling paste – this can cause the paste to dry too quickly, resulting in cracking or shrinking.
After the spackling paste is dry, use fine-grit sandpaper to smooth out the surface. Sand gently in a circular motion until the patch is level with the surrounding wall. Wipe away any dust with a damp cloth.
Step 4: Sand your walls
After you’ve patched your walls, the next step is to sand your walls. Don’t skip this step – by sanding your walls, you’re essentially creating a rough surface that will help the paint adhere better.
If you’re wondering what grit of sandpaper you should choose, this depends on the condition of your walls. If your walls are in good condition, use a fine-grit sandpaper (120 grit). If your walls have rough spots or imperfections, use a coarser grit sandpaper (80 grit) to start and then switch to a finer grit sandpaper.
To sand your walls, wrap the sandpaper around the sanding block or pole and start sanding the walls. Move the sandpaper in a circular or back-and-forth motion, applying light to medium pressure.
You’ll want to sand all the walls that are due for painting, paying extra attention to the edges and corners. Once you’re done, do a quick clean up with a vacuum cleaner, or just use a damp cloth.
Step 5: Painter’s tape
Finally, apply painter’s tape to the edges of any trim, windows, power points or doors to protect them from paint.
To apply the painter’s tape, press it down firmly to ensure a secure bond. Make sure the tape is straight and level, and avoid stretching or wrinkling the tape. You can use a putty knife or plastic card to press the tape down firmly along the edges, to prevent paint from bleeding underneath the tape.
Part 2: Choosing The Right Paint
Choosing the right paint is crucial to achieving a professional-looking paint job. Here are the factors you should consider when choosing paint:
- Type of paint
- Colour
- Finish
Step 1: Choose the type of paint
There are several types of paint available, including latex, oil-based, and enamel.
Latex paint is the most popular choice for interior walls because it is easy to clean up and dries quickly. Oil-based paint is more durable and provides a smoother finish, but it takes longer to dry and requires solvents for cleanup.
Lastly, enamel isn’t typically used for walls – however, it’s a good choice for trim and cabinets because it is durable and provides a glossy finish.
Step 2: Choose the colour of paint

When choosing the colour of your paint, consider the mood you want to create in the room. Lighter colors make a room feel larger and brighter, while darker colors create a cozy, intimate atmosphere.
If you’re choosing a bold colour, note that the colour might not look the same on a tiny paint chip as compared to on an entire wall (or several walls, if you’re going for that). The colour may also look different depending on the amount of natural light that comes into your room.
Step 3: Choose the paint finish
The finish of the paint refers to the level of sheen or gloss. There are several finishes available, including flat, eggshell, satin, semi-gloss, and high-gloss. Flat paint is ideal for hiding imperfections on walls, while high-gloss paint provides a durable, easy-to-clean finish.
Buying paint at the store
You’ll need to figure out how much paint you need to purchase – this depends on the size of your walls, as well as the type of paint you’re using.
If you’re using Dulux paint, for example, you can reference their paint guidelines here.
As an approximation, you’ll require 1 x 5L can of paint for each HDB bedroom you’re painting, and between 1 to 2 x 5L cans of paint for your living room or dining room.
If you are painting over a dark or bold color with a lighter color, you may need more than one coat of paint to achieve full coverage, so factor this into your calculation as well.
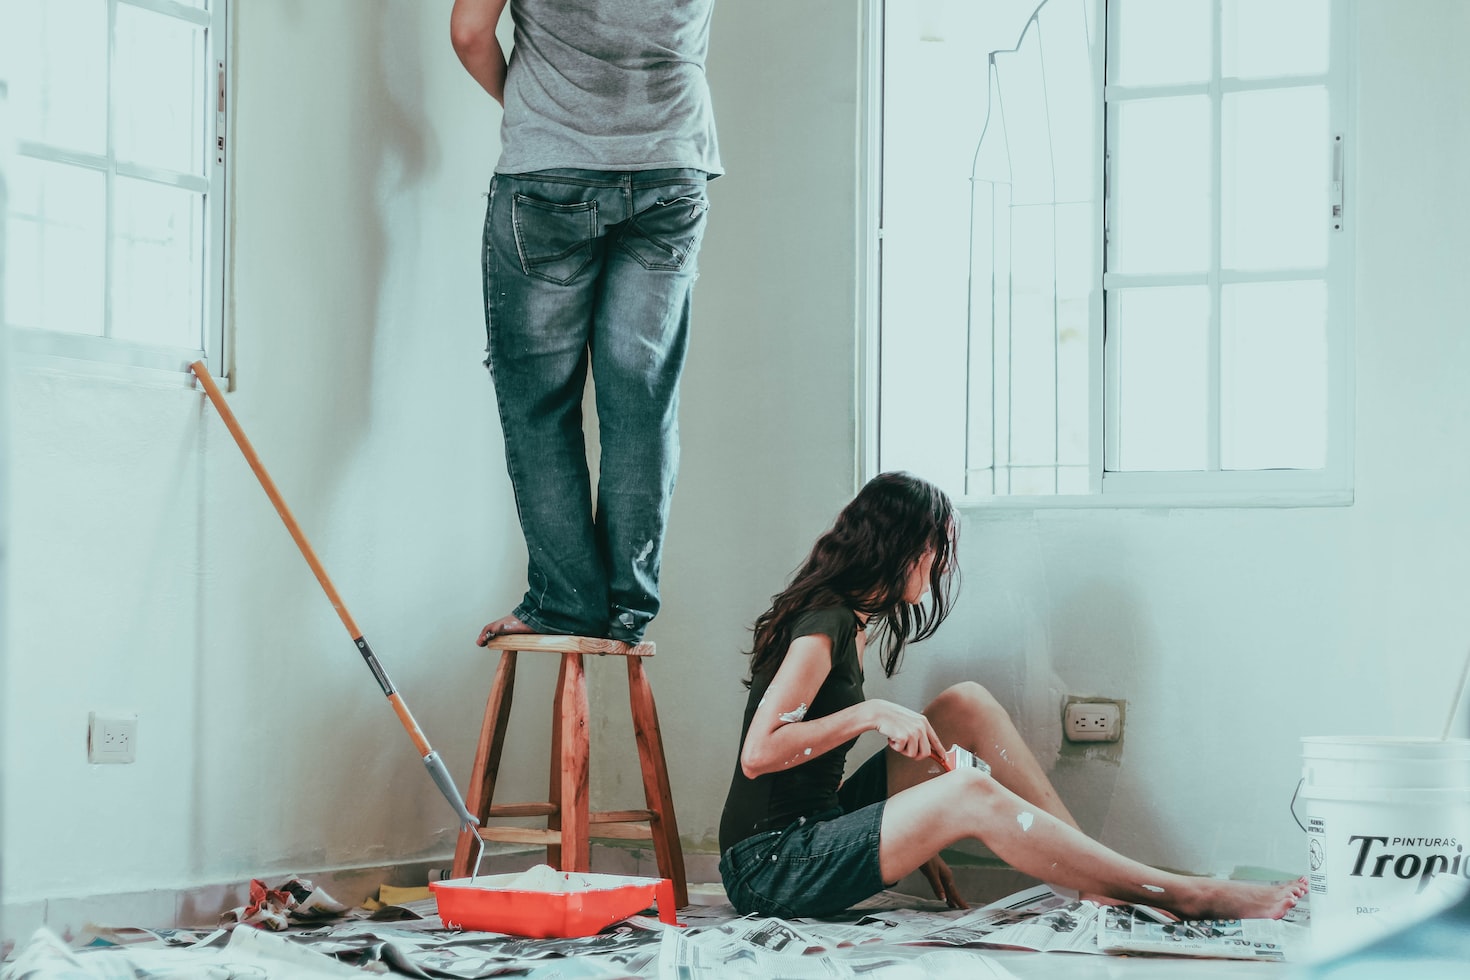
Part 3: Painting Your Room
Here comes the fun part… painting your rooms!
Before you start painting, prime your walls first. This is especially important if you’re painting over a dark color or a surface with stains or imperfections.
When priming your walls, use a paintbrush or roller to apply the primer evenly. Allow the primer to dry completely before painting.
After your walls are dry, use a paintbrush to cut in around the edges of the room, including the trim, corners, and ceiling. This technique will help you create a crisp, clean edge between the walls and the ceiling.
Once you’re done, use a roller to apply paint to the walls. Start at the top of the wall and work your way down, using long, even strokes. Be sure to overlap each section slightly to avoid creating visible seams.
If necessary, apply a second coat of paint to create a more even, opaque finish. Then wait for the paint to dry completely before inspecting your work. If you notice any thin spots or missed areas, apply another coat of paint.
Part 3b: Painting Your Ceiling
You can paint your ceiling or leave it out – it’s completely up to you.
Some folks find that painting their ceilings helps to give the room a finished, polished look. If you’d like to do this, follow the same process that you did for painting your rooms.
You can use the same paint that you’ve used for your walls, or purchase ceiling paint.
Ceiling paint is paint that’s specifically designed for ceilings – these paints are formulated to dry slowly, which allows for better coverage and fewer drips.
Some folks swear by ceiling paint, but since we’re in Singapore where the humidity is through the roof, it might not make that much of a difference to us.
Part 4: Cleaning Up
Once you’re done and you’re happy with your work, it’s time to clean up!
If you used painter’s tape to protect your trim or windows, remove it carefully. You can score the edge of the tape with a utility knife before removing it, to prevent the paint from peeling off with the tape.
Finally, clean up your tools and supplies. Rinse your paint brushes and roller covers with water, and dispose of any leftover paint or materials properly.
How Much Does It Cost To Hire Painters In Singapore? How Much Can You Save By Painting Your Home Yourself?
At this point, you might be thinking… wow, it sounds like a lot of work to paint my room myself. Is it really worth the effort?
Well, you’re completely right – painting your room is a whole ~process~. If you’re new to it, there are many things to keep in mind, and it’s not something that you can do in, say, two hours.
To figure out whether it’s worth your time and energy to paint your rooms yourself, let’s look at how much it would cost if you were to hire painters.
Obviously, prices differ based on the nature of the paint job – we’re looking at factors such as the size of the room, the complexity of the job, the type of paint used, and the experience level of the painters.
Generally speaking, here’s what you’d expect to pay:
- 3-room HDB flat: $700 to $1000
- 4-room HDB flat: $800 to $1300
- 5-room or larger HDB flat: $1000 to $1500
- Condominiums: $1000 to $5000
- Landed properties: $2000 to $10,000
Note that additional costs may apply if the walls require extensive preparation work, if there are multiple colors involved, or if there are high ceilings or difficult-to-reach areas.
Of course, when you’re painting your rooms yourself, you’ll also incur some cost in purchasing equipment and materials such as paint, brushes, rollers, painter’s tape, sandpaper, and drop cloths.
Here’s a rough approximation of how much cost you’ll incur, and how much you get to save:
| Property | Professional painting cost | DIY painting cost | Potential savings |
|---|---|---|---|
| 3-room flat | $700 - $1,000 | $150 - $300 | $500 - $700 |
| 4-room flat | $800 - $1,300 | $200 - $400 | $600 - $1,100 |
| 5-room flat | $1,000 - $1,500 | $250 - $500 | $750 - $1,000 |
| Condo | $1,000 - $5,000 | $300 - $1,000 | $700 - $4,000 |
| Landed property | $2,000 - $10,000 | $1,000 - $5,000 | $1,000 - $5,000 |
A Final Word On Painting Your Rooms
If you have a day or two to set aside, painting your own rooms can be a fun project. Plus, it can save you money as well.
If you’re going the DIY route, be sure to plan ahead, and purchase everything you need to so that you can get started early in the day.
Happy painting!
Want to check out home renovation projects for more inspiration? Browse home design ideas on Hometrust, or click the button below to get connected with expert designers!
Renovating soon? Speak to top rated interior designers.
Discuss your home renovation ideas and plans with top rated firms, recommended by past homeowners. Let us help you shortlist the most suitable interior designers for your project.